Just a few miles south of Saskatoon on the South Saskatchewan River (Treaty 6 Territory)

March 10, 2020
Just a few miles south of Saskatoon on the South Saskatchewan River (Treaty 6 Territory)
March 5, 2020
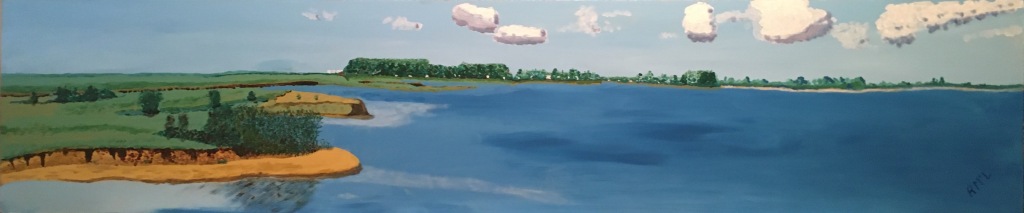
The Saskatchewan prairies lend themselves to painting wide scenes.

February 24, 2020
In Ghana, a road winds south from Kumasi to the rim that surrounds a crater and sacred Lake Bosumtwi. Thirty villages nestle around the lake.

In the distant past, the lake level was much lower than it is now, with very large trees growing down the hillsides. Water levels have risen, flooding these trees, and leaving what remains of them standing in the water.

Fishing methods are restricted. Most commonly a net is thrown while sitting on a padua (a wooden plank).

February 12, 2020
With my sewing experience and knowledge recently gained, it was time to have a second go at making a vest from salvaged blue jean material. Clearly a new pattern was required. Two vests made for me by my friend and professional tailor in Ghana last year hung in my closet – they provided the solution. All that was required now was for me to remember to leave “seam allowances” when cutting the cloth.
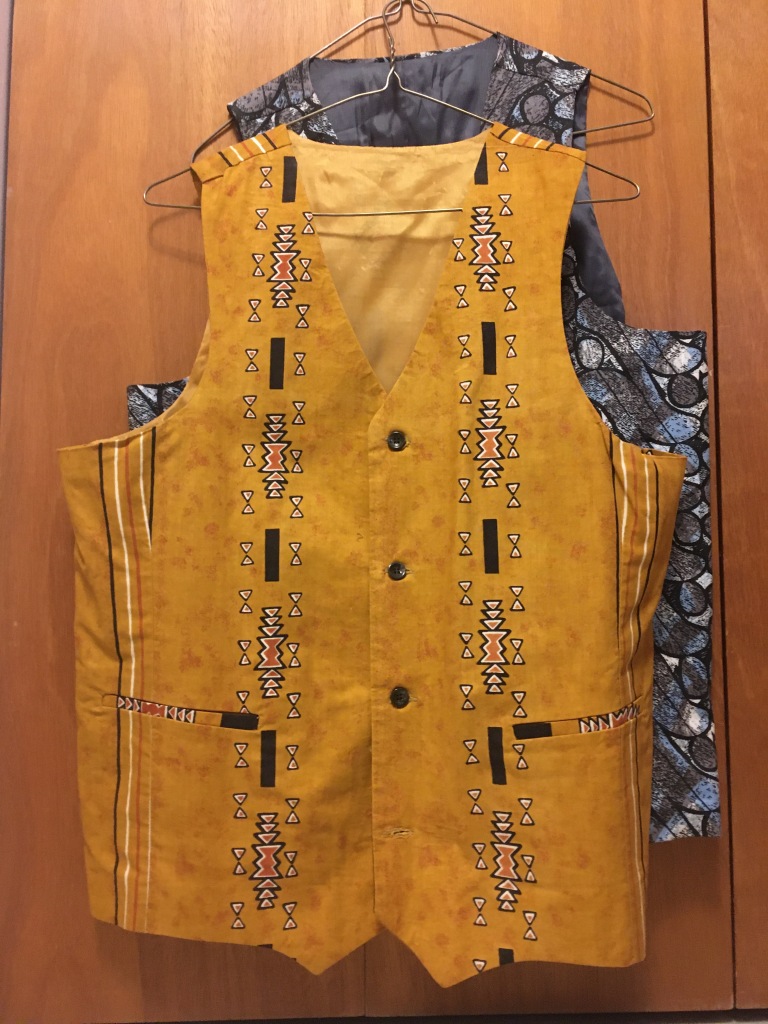
With a lot more confidence, the new pattern was drawn up on brown paper and more jeans ripped apart. The jean panels were not quite wide enough for the back of the vest. I scrounged through a tote of materials my partner had on hand and found a drapery remnant that she had bought many years ago for $1. I even spent $4 for new material for the lining. After some cutting and sewing, here is the result:

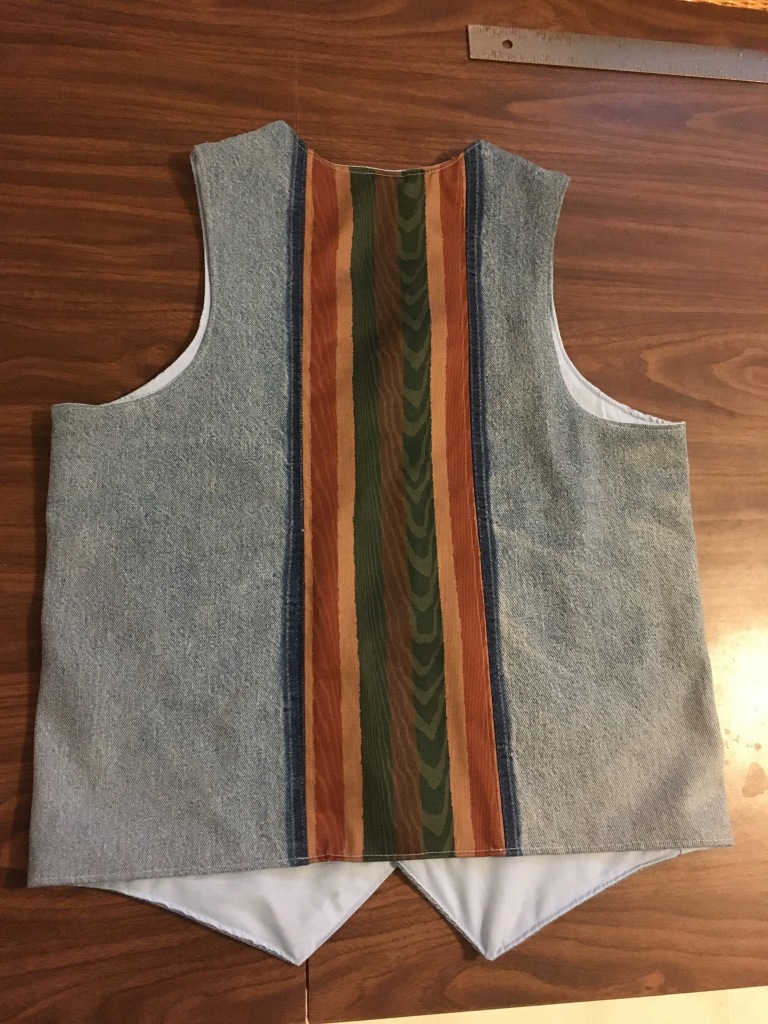
That went so well, a second vest was in order – his and hers.


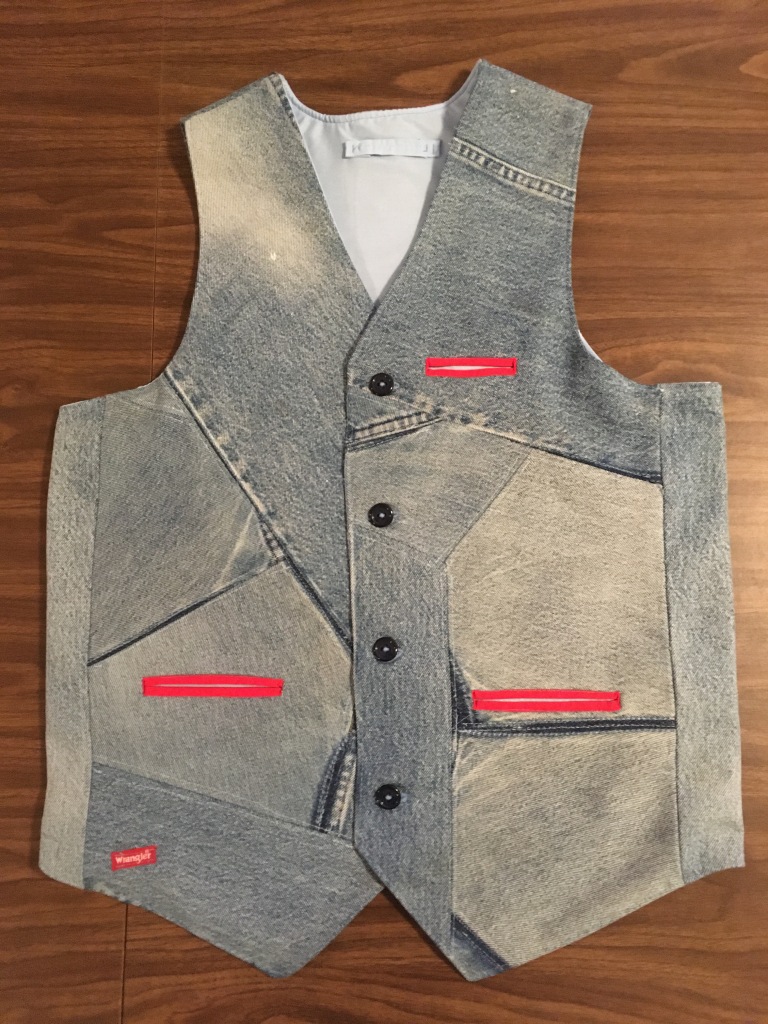
Since the pattern worked, I went for one more vest, this time with some changes.
The pile of worn out jeans, the essential ingredient, was getting smaller, requiring “consolidation” – for the front of the vest I was forced to sew pieces together. A third pocket was added to dress it up a bit. And the back panel now features the motif from my sailboat, the Prairie Mermaid, thanks to some fancy embroidery and applique´ work by my partner.
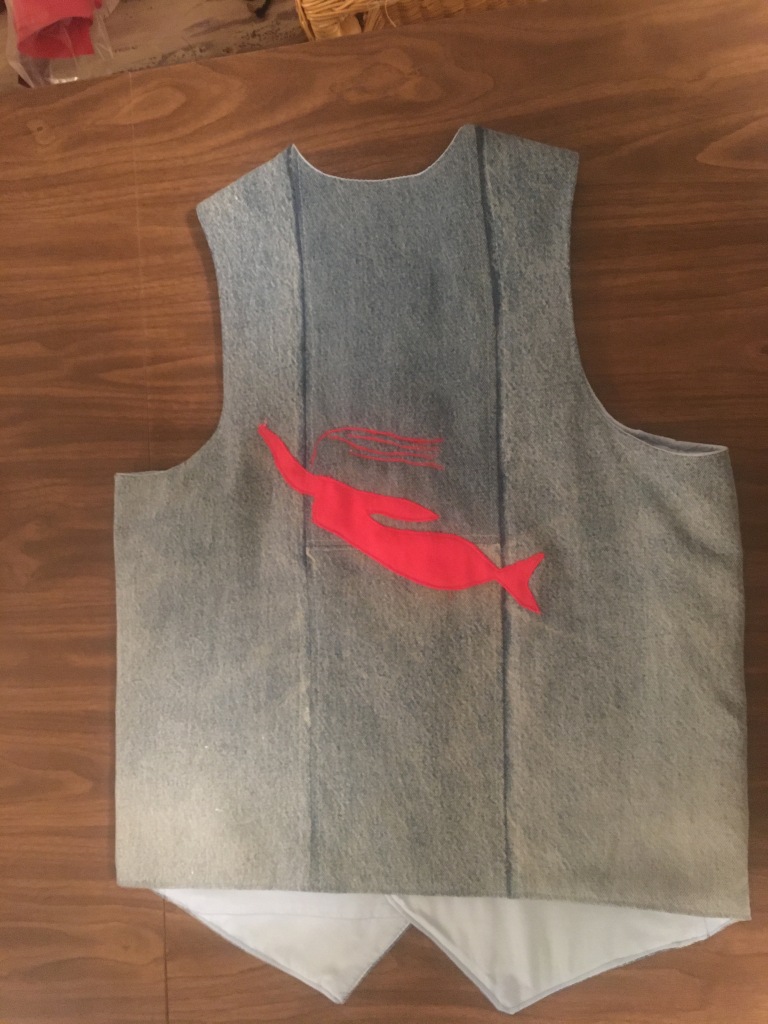
Enough vests for a while. Time to move on to something new.
February 5, 2020
Tinker Tailor Soldier Spy…
So what becomes of a neophyte sail-maker when he has no more sails to sew? Well, I have been known to tinker with bicycles and other things but its the wrong time of year for that. Since I am not in the least interested in being either a soldier or a spy, that really leaves one choice.

With the experience of sewing sails, a deck tent and some odds and ends for my sailboat, and with my Mom’s lovely Model 191B Singer sewing machine beckoning me, I decided this winter to extend my sewing experience. There was a pile of old blue jeans in my closet with front legs tattered and full of holes but back leg panels still with some very serviceable life in them.

After ripping the first two pairs of jeans apart I searched the internet and found someone offering a way to make a pattern for a vest. Filled with determination I soon became aware of my lack of knowledge in the field of tailoring.
I had no idea that I would not only be learning a new skill but also developing a new vocabulary! As an English literature major I was intrigued to learn the word “welt” not only refers to a swelling resulting from a blow but also is the term for the special pieces sewn around the opening to a pocket. And in learning how to construct the welts on the vest I discovered I would be using the technique known as “sew in the ditch”. In case you’re wondering, this does not refer to planting wheat in a trench.

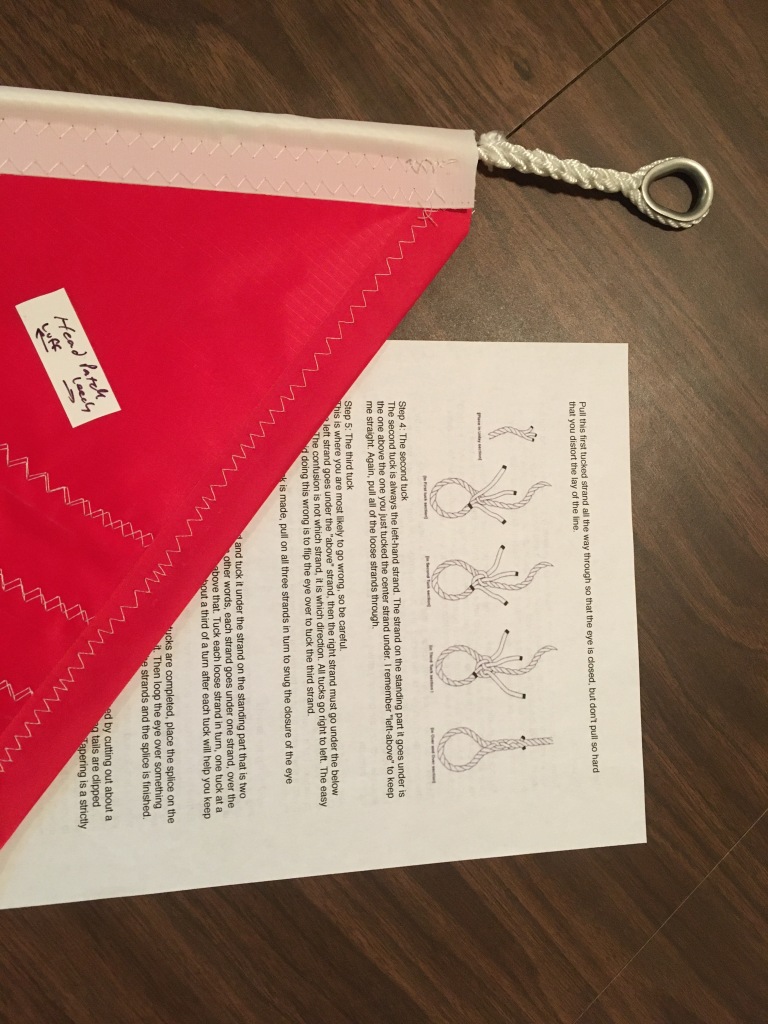
I had decided to add a lining to the vest. On hand was some light cloth purchased two years earlier to make a pennant for the Prairie Mermaid. There were two colours from which to choose. Neither were perhaps a colour I would have selected for this purpose but since I had it on hand, I chose the lime green and proceeded.

At this point I still had not understood the geometry and sequence of adding a lining to a piece of clothing in such a way as to end up with no exposed seams. You sew the outer front panels to the outer back panels, do the same for the lining, and then lay the outer layer and the lining face to face, sew them you together and then turn them inside out, right?
Wrong! Its not nearly so simple. That definitely does not work – take my word for it. Soon I was back on the internet to learn how to assemble a lined vest. After several fudged attempts during which my ripping skills were given more practise, I finally had a completed vest. (By the way, “ripping” as it applies to a tailoring skill has become as much a part of my sewing experience as the sewing itself!)

There was an unique element on the back. I discovered a feature of the zig zag attachment for the Singer making it possible to add cord or yarn to cloth. Presto – a picture of my Mana catamaran appeared.

Time for the ultimate test – how did it look on me? Well, I was able to get it on, just barely, but I could hear seams being stretched to their limit. The vest was much too small for me. What had gone wrong? Had I measured incorrectly? No, that was not it.
I queried my partner for her insight. She asked a simple question, “How much seam allowance did you leave?” Seam allowance? There had been no mention of seam allowance in the instructions for the pattern. I had never even heard the expression, much less take it into account. It was another of those terms to become part of my new vocabulary – seam allowance, a most critical part of tailoring.
Well, no worries. There were more jeans from which to make a new vest. All I needed to do was to find someone for whom this vest would be a good fit. A visit to my daughter’s shortly after provided the solution. While I told her of my tailoring venture, she tried it on and immediately fell in love with it. And as it sometimes occurs, serendipity was in the room. It happened to be her birthday – the vest suddenly became her birthday present!


It was back to the drawing board for the tailor. Stay tuned for Part 2 of “Vested Interests”.
January 29, 2020
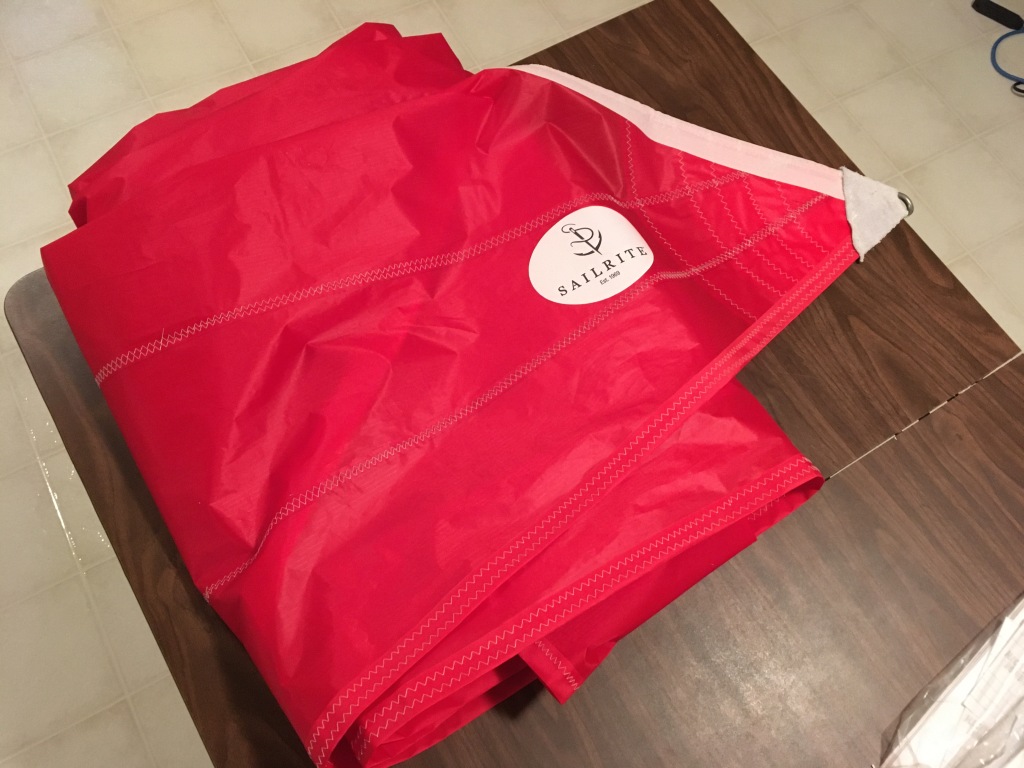
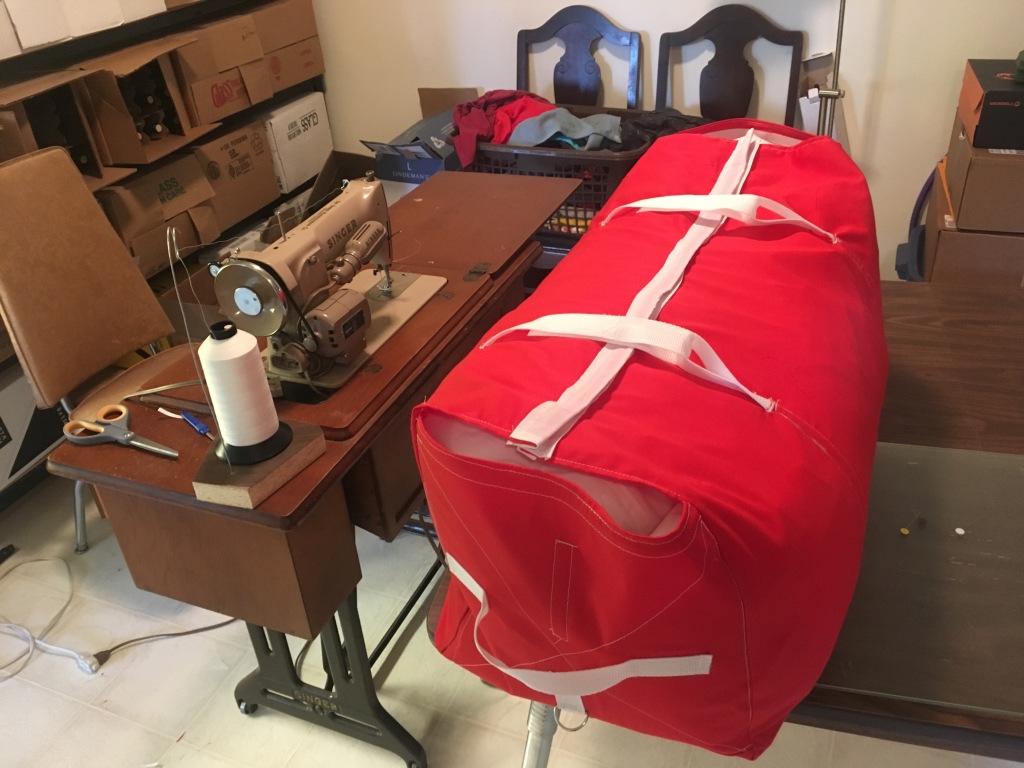
After the success with my first try at sewing up an asymmetrical spinnaker for the Prairie Mermaid, I thought it would be fun to give sail-making another go. The cat ketch rig on the Mana presents a possibility that intrigued me the first time I saw photos of a similar rig sporting a mizzen staysail. Once again I went to the good folks at SailRite for their assistance. Sailmaker Jeff Frank came back with a mizzen staysail custom designed for the Mana 24.
After fall had turned into winter, I again took over a large part of the basement and set to sewing up the kit.


SailRite provides excellent instructions with their sail kits. In addition, they are a phone call away to answer questions and I took advantage of the service to get some clarification from Jeff on one issue that arose.
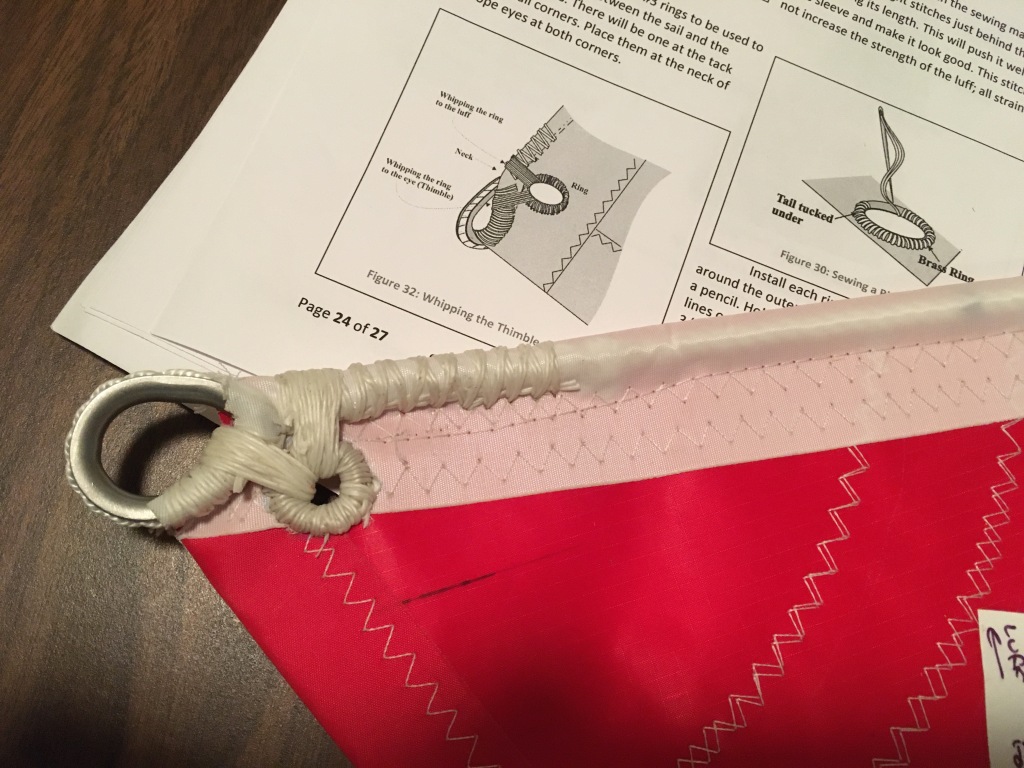
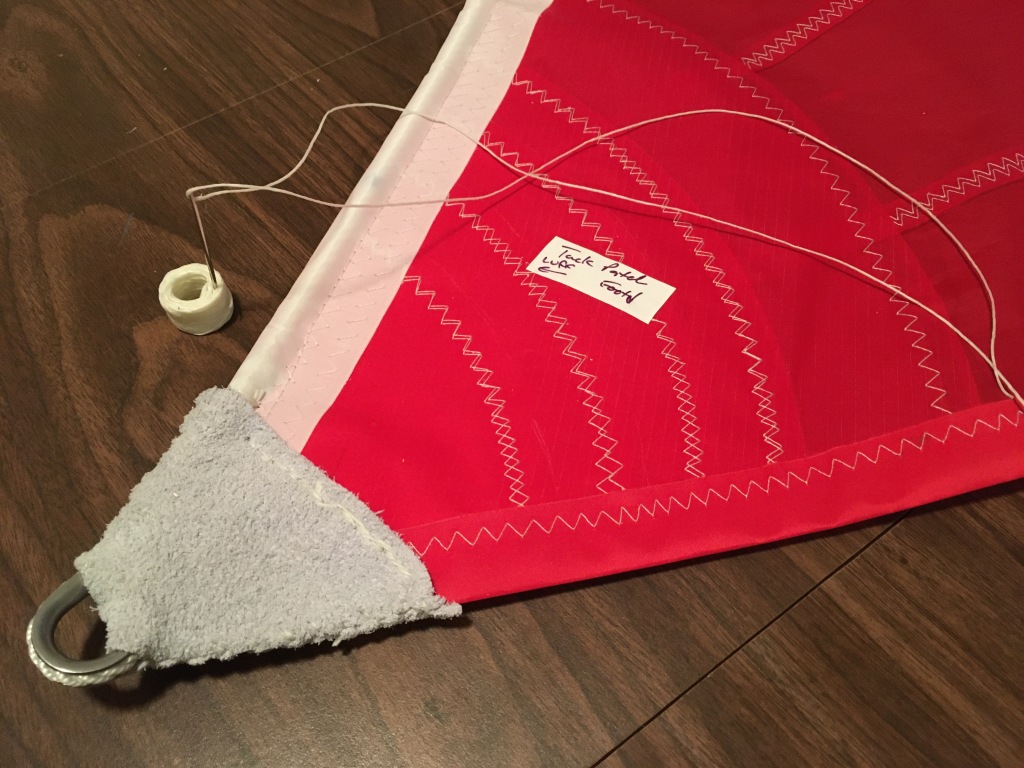
Sewing up the panels is quite straight forward. A double zig zag stitch is used and soon the sail has been produced. The detailing requires hand stitching. Clearly drawn diagrams make it easy for a rookie sail-maker like me to end up with a professional looking product.


The project was soon completed. The sail (and sailor) wait until sailing season for the first trial. Stay tuned.
January 23, 2020
For seven summers, the sailing highlight of the season for me each year has been the week-long Elbow Run on Lake Diefenbaker. The 2019 Run was another great camping/sailing event. We were very fortunate to have on the Run again our very good sailing friend, Dave Fischl along with his son, Chad. They brought with them Dave’s new drone and the results were some very dramatic shots of the lake. From that vantage high above, we see the lake with a new perspective. I used Dave’s shots as inspiration for a series of paintings.

The wide vistas lend themselves to big paintings. This one is 36″X60″, acrylic on MDF board (framed size – 42″X66″).


August 11, 2019

Spinnakers. Those big beautiful, brightly coloured sails puffed out in front of sailboats as they ghost their way down the lake… Yes, the image conjures up in my mind the ultimate in sailing experience and so of course, I was determined to add an asymmetrical spinnaker to the sail locker of my Mana 24, “Prairie Mermaid”.
I wanted to play a part in creating the sail but I do not have the necessary design skills. I turned to SailRite for their design expertise. Their sail maker, Jeff Frank presented me with a lay-out and asked me for my choice of colours. After considering the various choices and combinations, I chose red and yellow and placed my order. The kit soon arrived.


Instructions were very easy to understand. With my partner’s trusty old Kenmore, quickly I was assembling the first of three sections of the sail. Once each one had been completed, they in turn were sewn together. After hand sewing leather to protect the corners, I had a finished sail.


In addition to the sail, I had ordered a launching sock kit. The sock required a bit more thought and measuring but it also came together well.

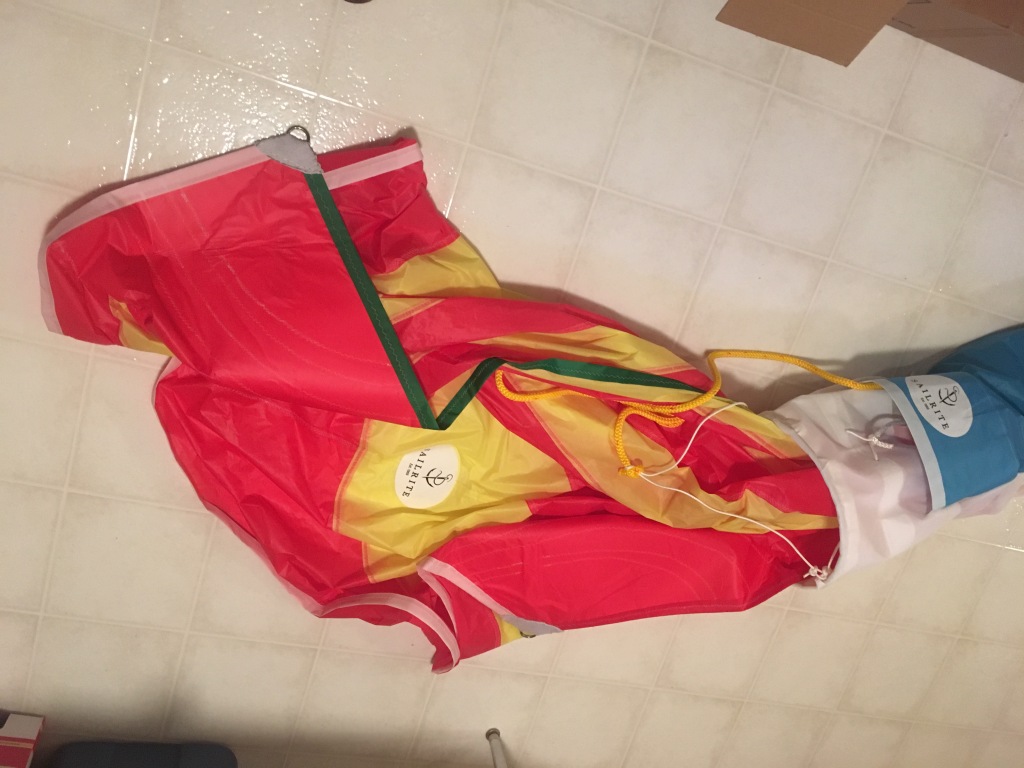
The sail went into a bag and then waited until June for the its first trial.
My sailing friend, Rick, joined me for the day. We were blessed with light winds perfect for the task at hand. Things went very well and I was very pleased with the result. Check out the video account of the day.


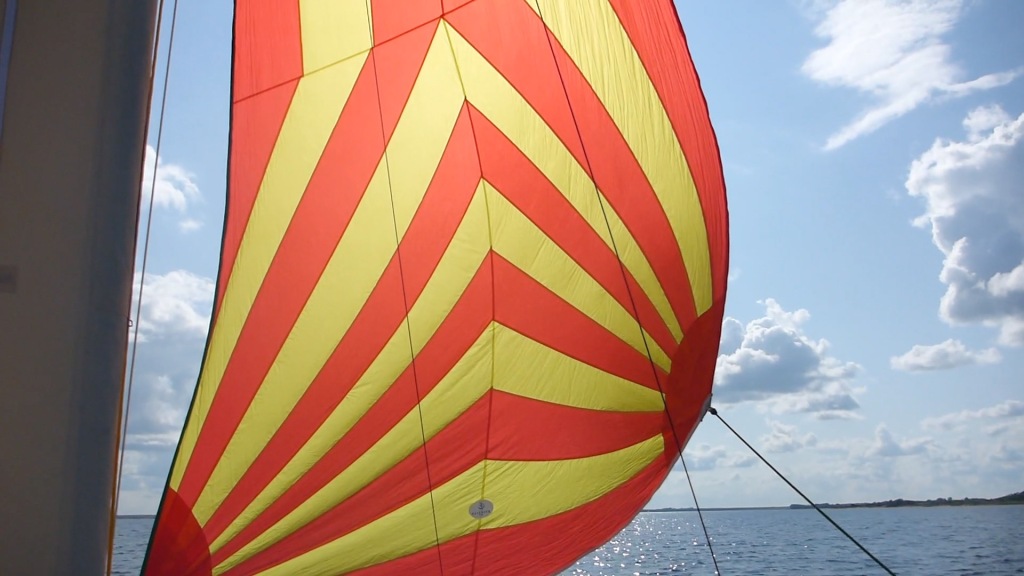
Following examples I had found online, this is the equipment I used to fly the sail. Tack lines run to blocks attached with soft shackles to both port and starboard bows, allowing the sail to be moved from side to side to suit wind directions. These lines are tied off to cleats installed on the forward cabin tops. Sheets lead from the clew to blocks attached to stern posts with soft shackles and tie off to cleats installed on aft cabin tops.


In spite of my inexperience but with a successful initial trial under my belt, I began our annual weeklong camping/sailing event, the Elbow Run 2019, flying the asymmetrical within the first half hour of the start. My crew mate, Russell, came aboard as a rookie sailor and by the end of the Run, the two of us were taking turns setting and adjusting the new sail as if we both knew what we were doing!
During the Run, the spinnaker proved to be an invaluable asset to the boat. There were four WindRider 17 trimarans in our group. On the days when winds were light, the WindRiders, being much lighter, were able to move ahead of us until we hoisted the spinnaker and then we took over the lead. Brent was the exception on his WR17 – he was also sporting a spinnaker. Brent is a very talented sailor and he was consistently impossible to catch.
Final assessment? Unlike my experiment with the deck tent, the asymmetrical spinnaker is a great success. The sock makes launching it stress free. The sail turns a light wind day into a pleasurable time. I am very happy with the addition.
August 9, 2019
Not all ideas are manifest to be successful. Ideas drawn out on a piece of paper, no matter how carefully they may have been drawn to scale become something quite different when reproduced in reality. These are two truths that I learned this past year.
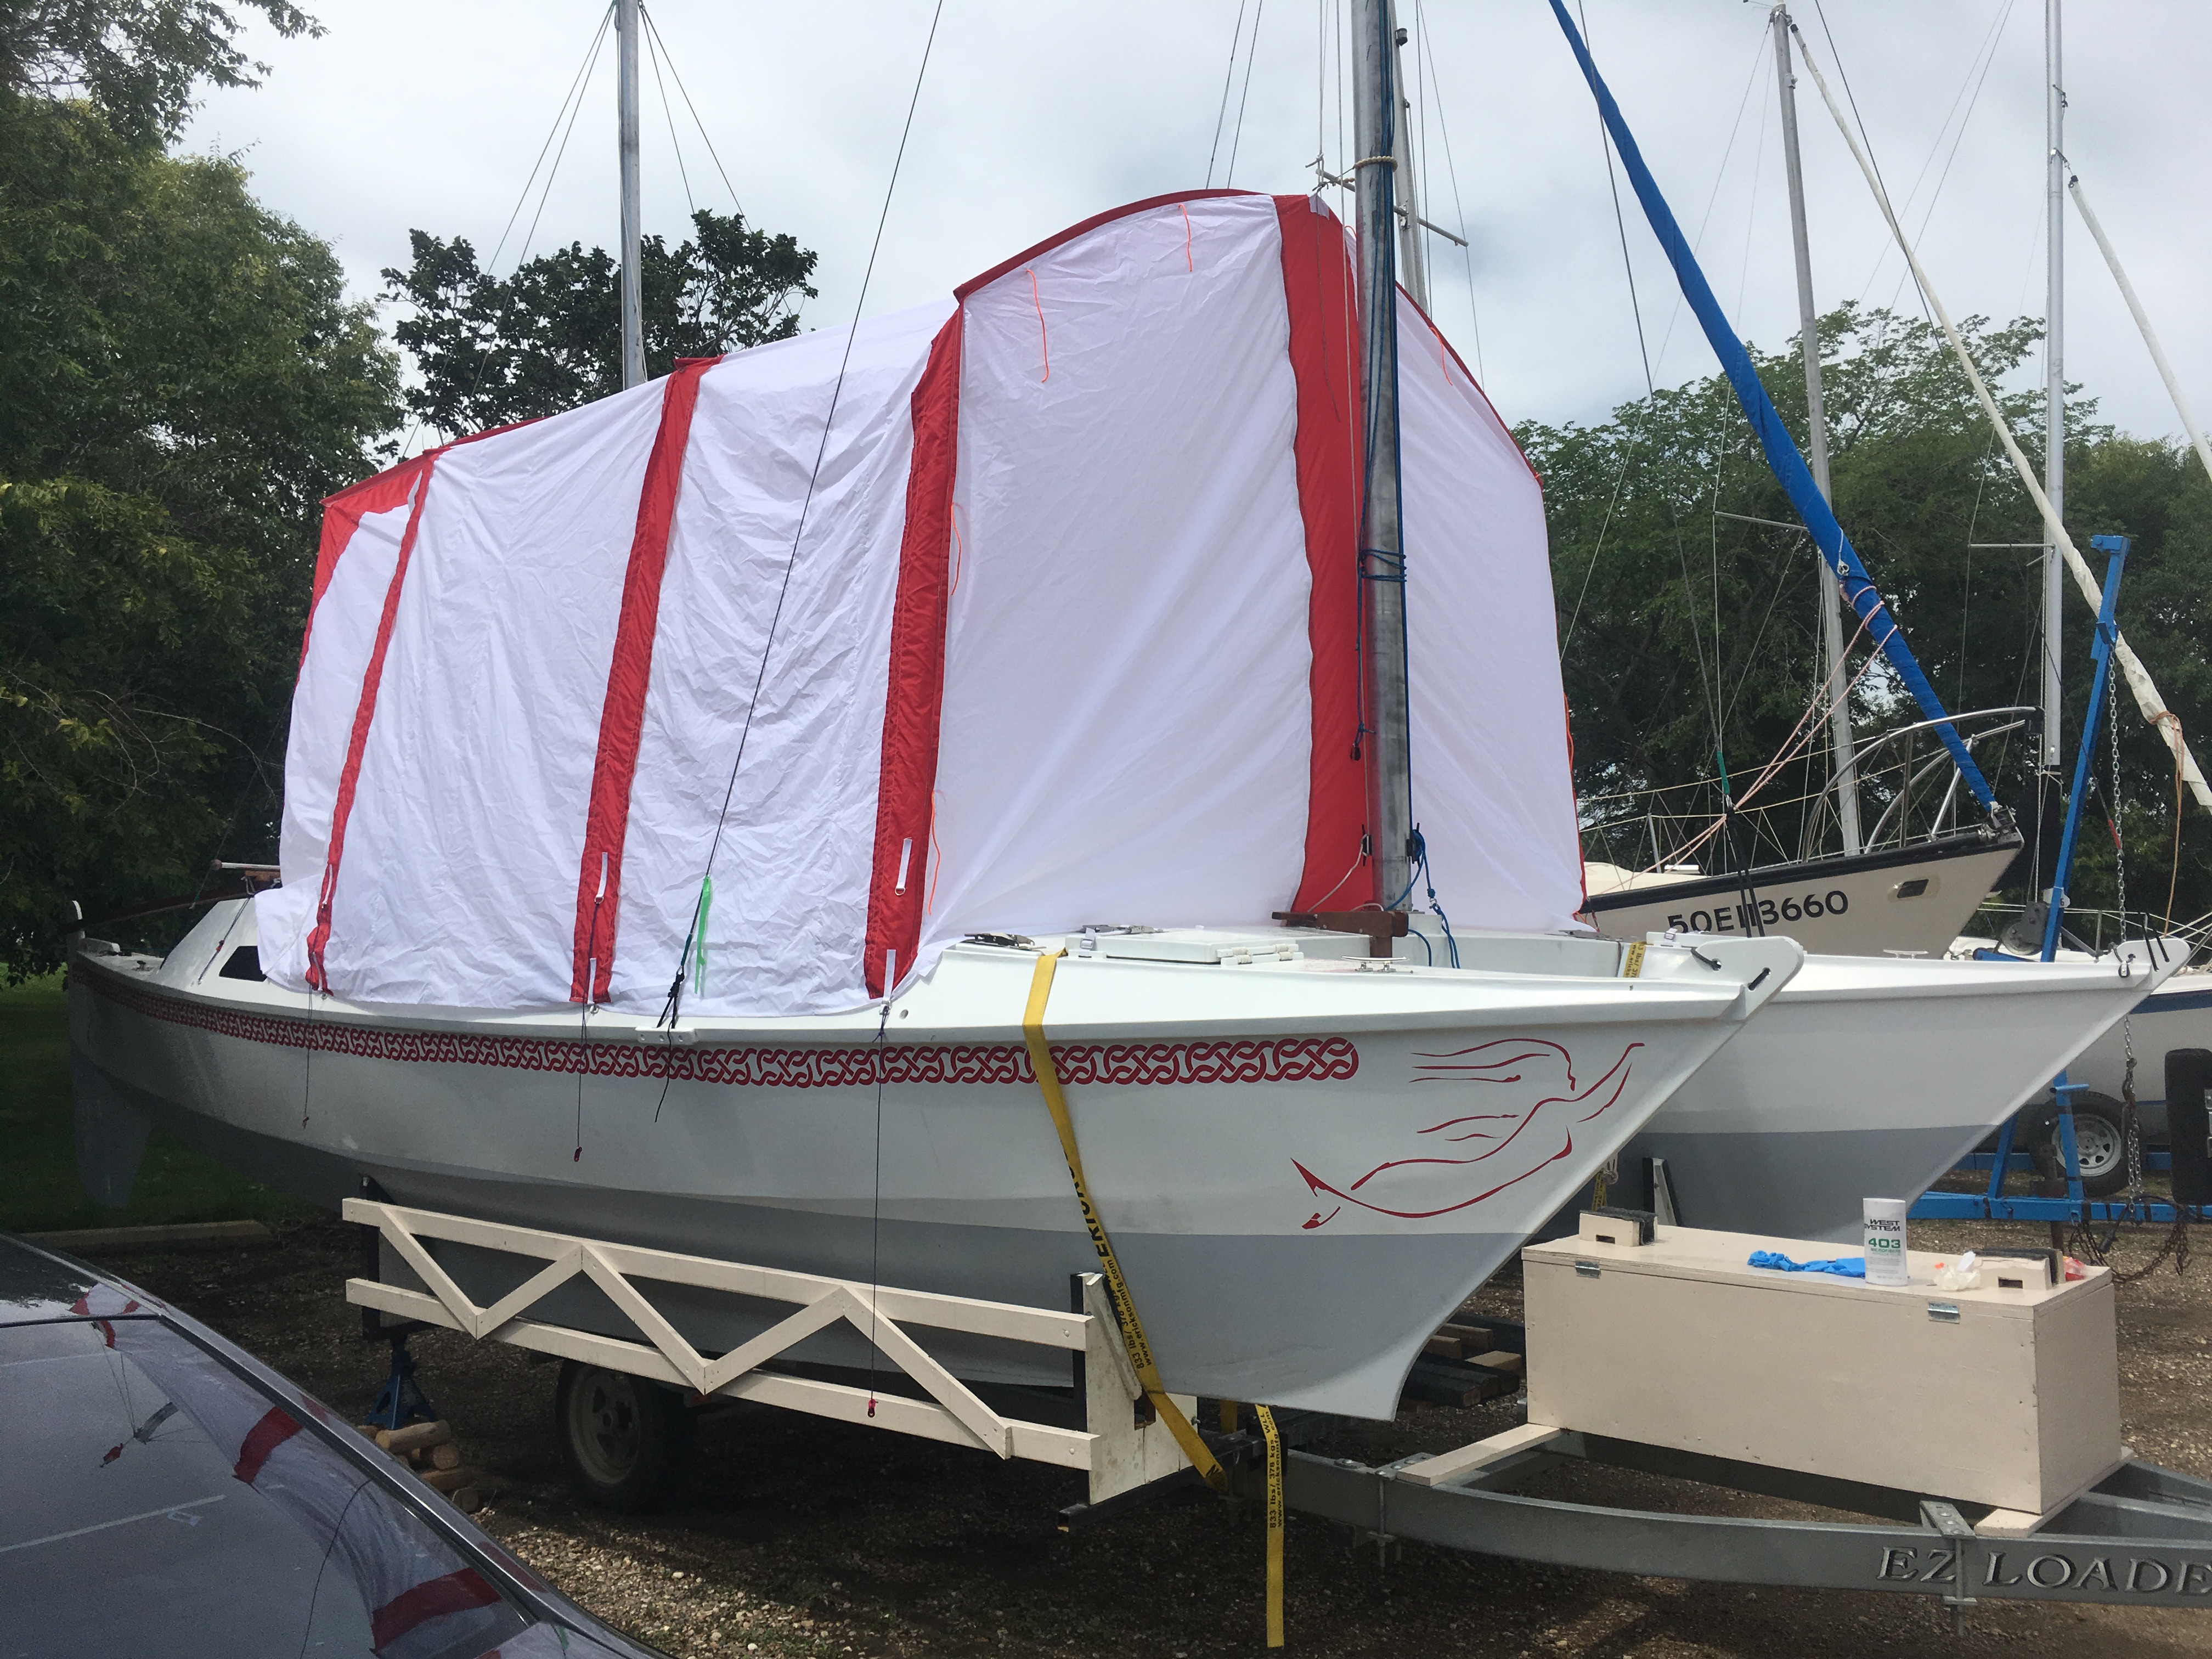
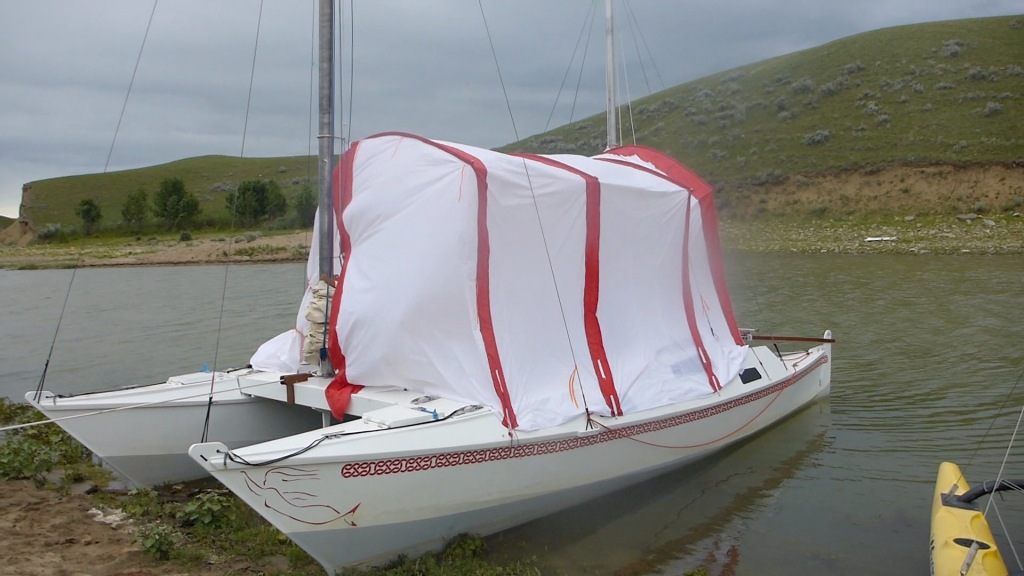
My Mana 24 catamaran has a large and very open deck which is ideal for sailing but provides no shelter when camping on board. Last winter I set about to design and sew a tent which would fulfill that limitation. I was partially successful, but my design was deficient in one important aspect. More on that later.
The tent project followed the completion of a sewing ‘first’ for me – a new sail for the boat, an asymmetrical spinnaker and launching chute (another post coming soon). There was an incentive for a new sewing project – the acquisition of my mother’s 1956 Singer Model 191B sewing machine.

The tent design attempted to address the desire for shelter on the deck while being still being able to access the hull cabins. I wanted to be able to easily open the hatches without impediment from the tent and so I came up with the idea of an arched roof, suspended between the two masts and formed by flexible tent poles. My scale drawing called for a height of 96 inches in order for the hatch to clear the tent wall.


Two ingredients were required – tent material and tent poles. A search on the internet came up with willing suppliers. Ripstop By the Roll have an extensive selection of materials available and from them I ordered 35 yards of 1.9 ounce white rip-stop nylon plus 8 yards of 2.2 ounce ripstop nylon in racing red. From another accommodating supplier, Tent Pole Technologies came four tent poles, each 129.5 inches long. Time to get to work.
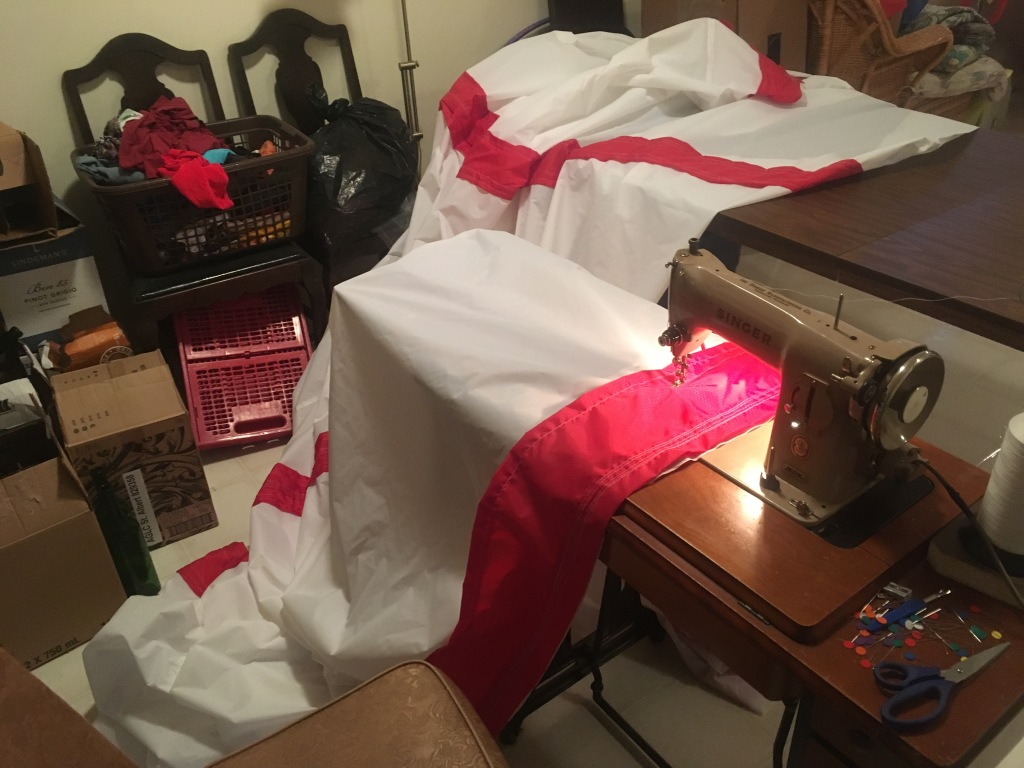
Of course, when I was doing the drawing and ordering the material, I really had no clear sense of just how big the tent would be or how much material it would involve. It was only after starting to cut and piece and sew it together did I fully appreciate the undertaking. I was soon sewing 24 foot long seams to join panels forming the top and walls of the tent. Mom’s old Singer machine was not nearly so phased by that as I was.
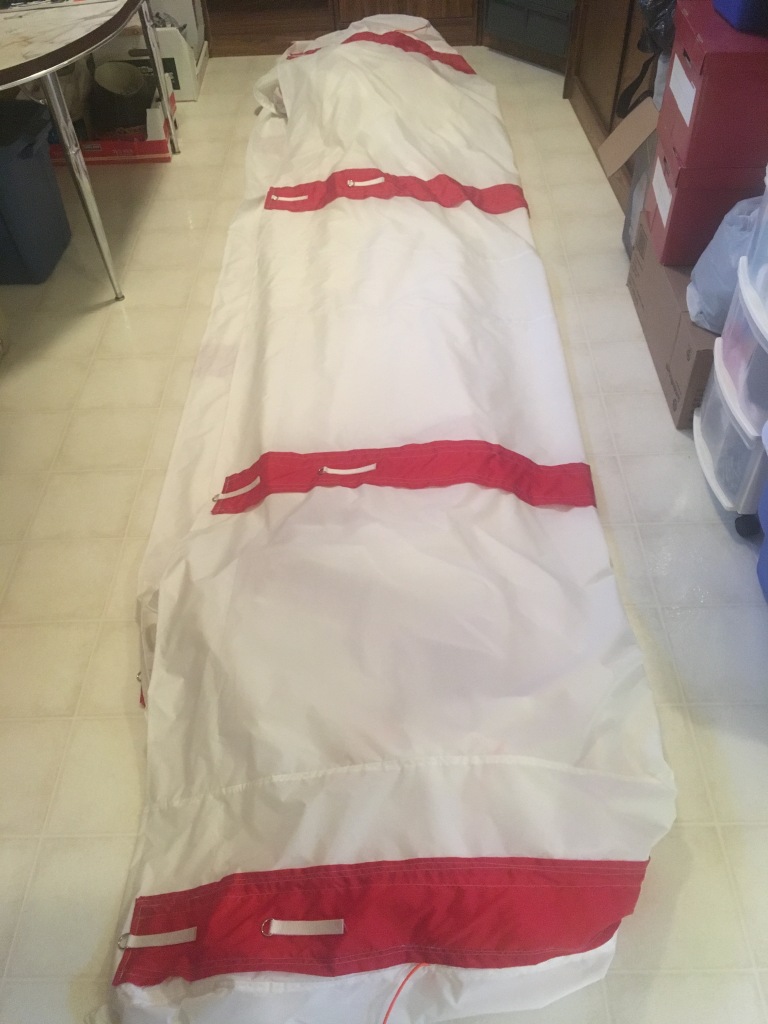
The end panels came with their own challenge, with 8 foot zippers sewn in just off-centre to allow access from from both the bow and the stern of the boat. The basement seemed at times to be filled with rip-stop nylon!

The big test came in July during our annual camping/sailing event, the Elbow Run 2019, on Lake Diefenbaker, with seven sailboats and ten sailors gathered. The new tent looked rather impressive that first night, and the guys teased me about the size, suggesting that it was large enough to be a dance hall, or better yet, a floating conference room.
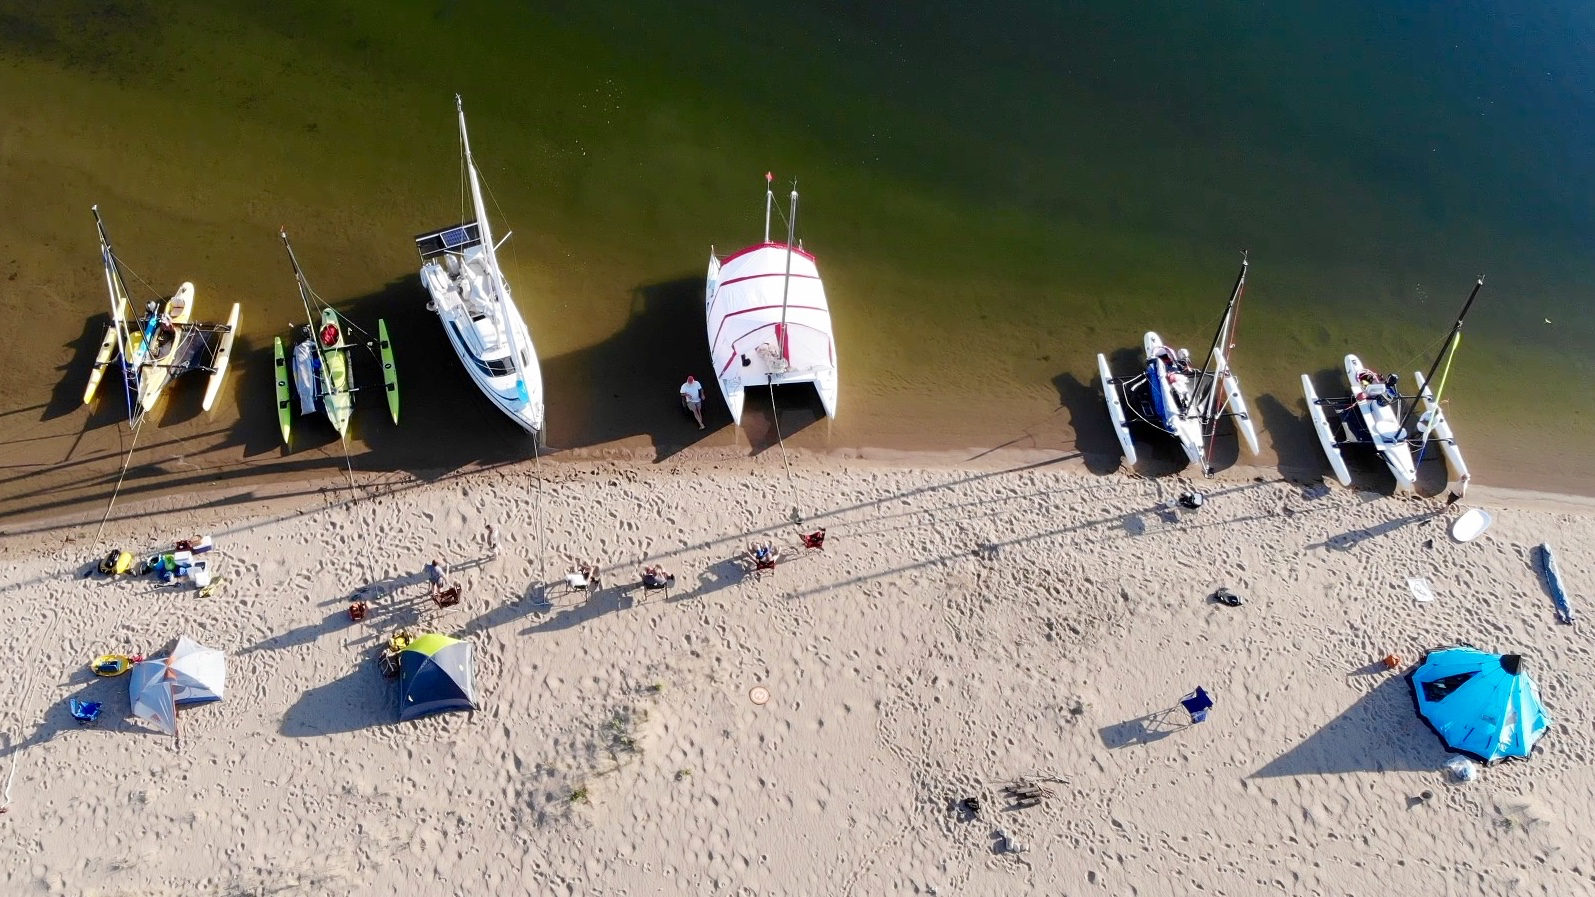
My crew mate and cousin, Russell, and I set about making our living quarters comfortable and cooking our evening meal on board while others were resigned to cooking in the open beside their tents. Life was good.
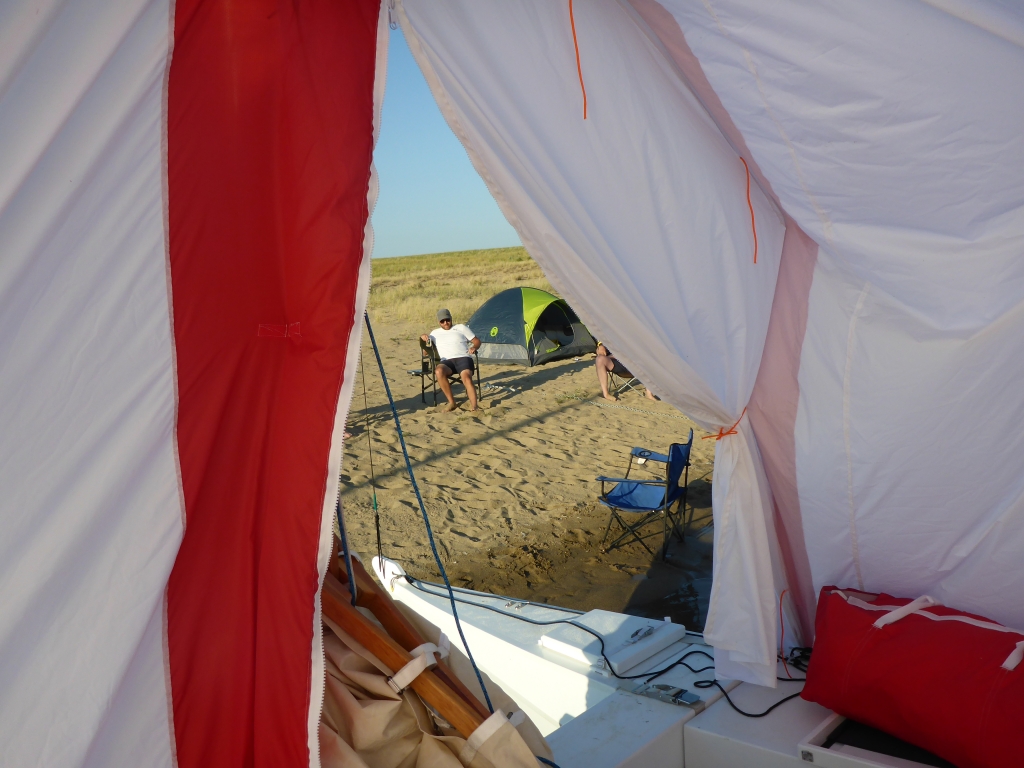

Things were not so congenial however when the wind started to blow later in the week, as you can see in the following photos.


Yes, things did get a bit wild, and on two separate nights we decided we would fare better in the wind without the tent!! The big sidewalls, having nothing to support them, could not hold their shape. There were other issues also. I had not taken into account that the main sail would prevent closure of the bow entrance to the tent, and so half of that end wall flapped continuously in the wind.
BUT, the sewing did not come unravelled. AND the rip-stop nylon proved that it could easily handle the wind. AND most importantly, the tent proved the worthiness of a shelter when camping on an open deck catamaran. So, its back to the drawing board and Mom’s old Singer machine this winter to come up with Mana Deck Tent Mark II.
September 18, 2018

The Mana fits on the trailer very well, with the outside of the hulls sitting within the outside of the trailer’s wheel wells.

James Wharram Designs, the boat’s designer, had sent me photos of the trailer they used to carry the prototype Mana to its first launch. They lashed temporary crossbeams between the two hulls to stabilize them and then placed the masts on top of them. I followed their example, placing the four panels that make up the centre platform upright between the masts. The proper crossbeams were then placed lengthwise on the trailer frames.

Once the hulls are pulled apart, crossbeams set in place quickly and are held down by straps and over centre cam buckles.

With both crossbeams locked into position, the four sections of lightweight honeycomb platform are put in place. The motor mount is the last part of the puzzle to be added.


Next comes the masts. Using the mizzen mast as a temporary gin pole and the trailer winch as muscle, the main mast is raised.


Next the mizzen…

Time to splash…


And voila, the Mana 24 Kit #3 is in the water, waiting for adventure.

Note: this series of photos was taken during the first assembly and launch of the boat. There have been some improvements to the trailer adaptation since then, including paint. More changes are planned for next season.

